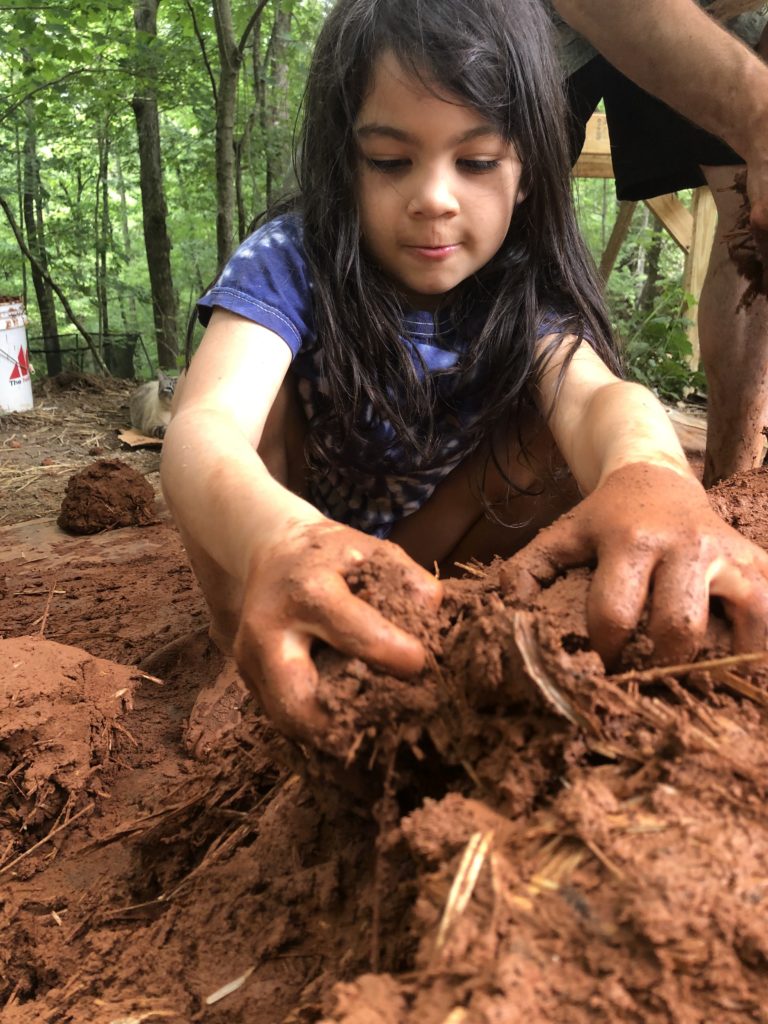
Last month we built a earth cob oven here at Archaic Roots during the Mystic Arts Immersion. This was one of the most influential workshops of the event, which required many hands and feet to complete throughout the weekend.
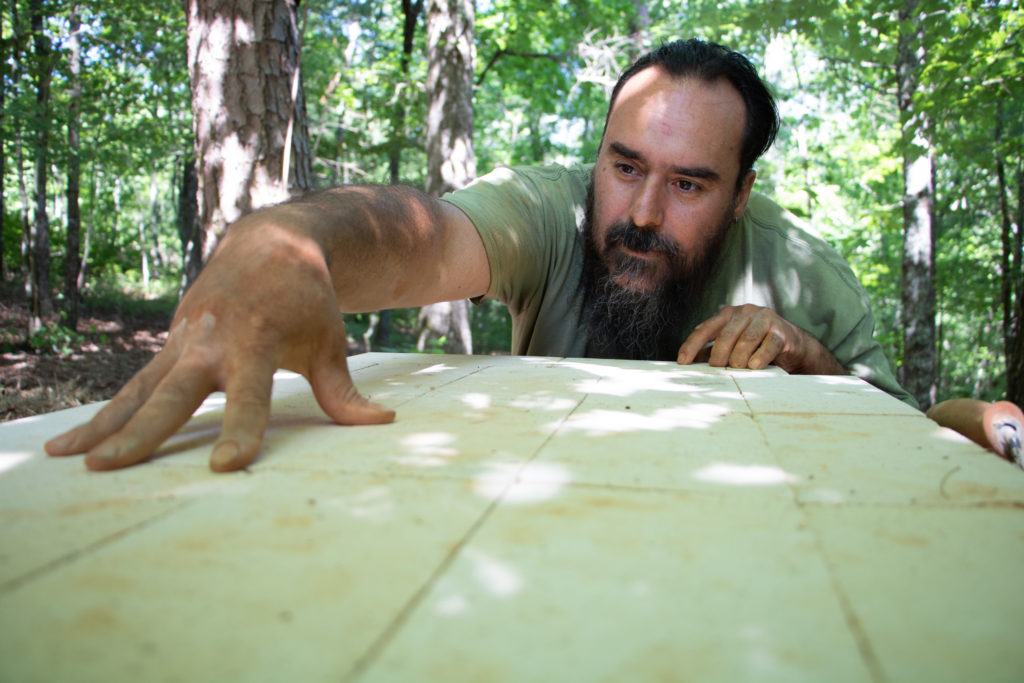
Colíbrí Natural Builders was the driving force of this wonderful weekend long workshop that created a functional work of art on the property. David Reed, the owner of Colíbrí Natural Builders, facilitated the workshop with his experience in the natural building process with ancient traditions of Earth Cob. Earth cob is a mixture of clay, sand, and straw; which creates a earthen structure and has been used for homes and ovens for many hundreds of years.
Preparation
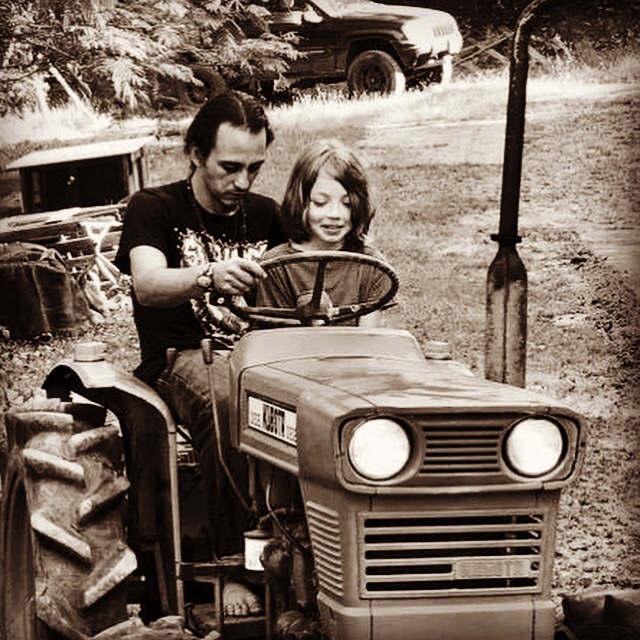
Before we began, we had to get the materials for the build. David found some great granite stone for the foundation of the oven locally, and he also had to purchase some fire brick for the base of the cooking area inside the oven and one bale of wheat straw. Then I gathered sand from the drainage ditches on our road, using the tractor I scooped about 15 loads of sand and dropped them near the build area. Luckily, my neighbor Maurice had many tons of fresh red clay at his dome nearby, he donated about 6 tractor scoops of clay, we also harvested a few scoops of clay from my property as well. I have to say, without the tractor the work for this would have been 10 times the amount, using the tractor to gather materials and or move materials to the build area made the whole process much easier.
Beginning the Oven Build
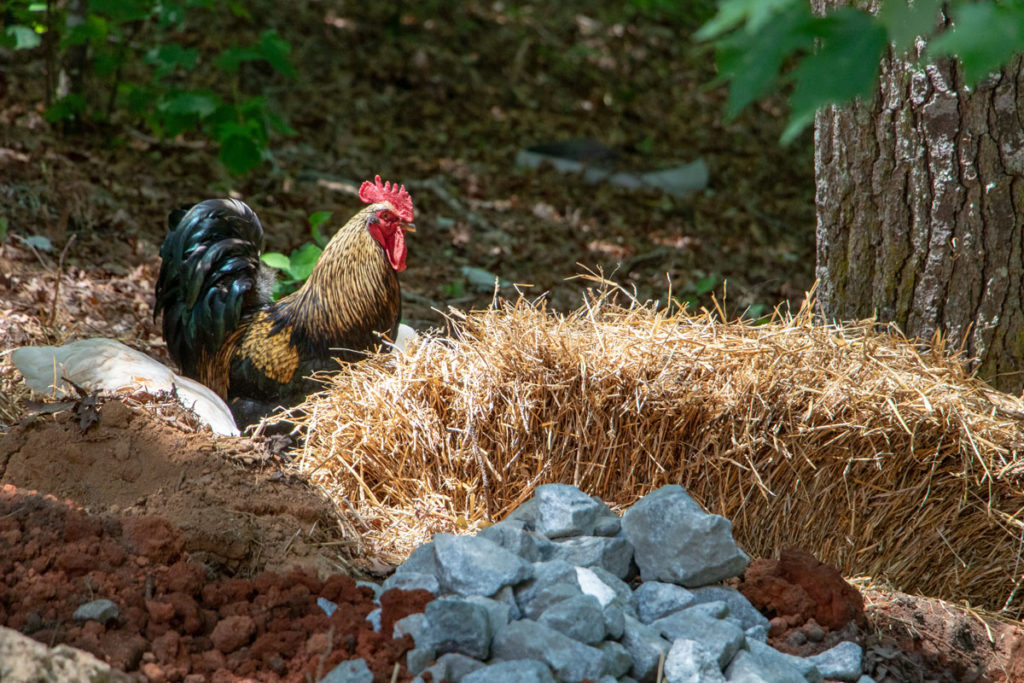
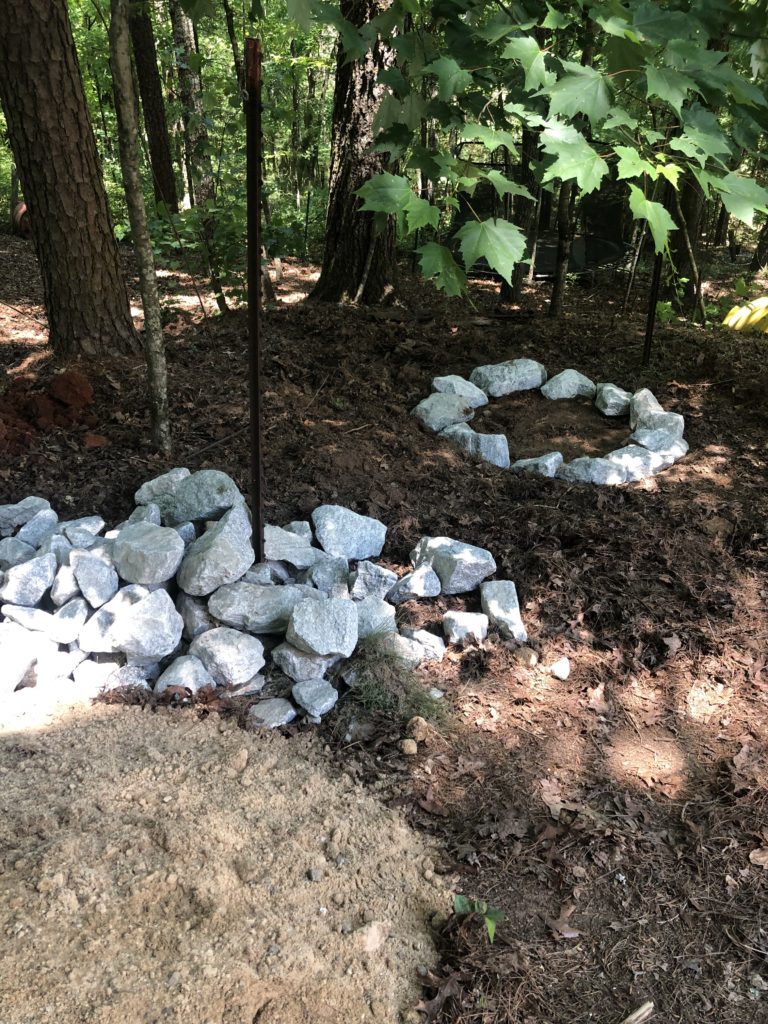
Once the materials were in place the weekend was already upon us. It was Friday afternoon when we started on building the stone foundation for the oven. Basically we built a oval wall of granite stone and mortar, then filled the inside of the oval with sand and large stones. We let that dry overnight in preparation of the cob work to be competed the next few days.
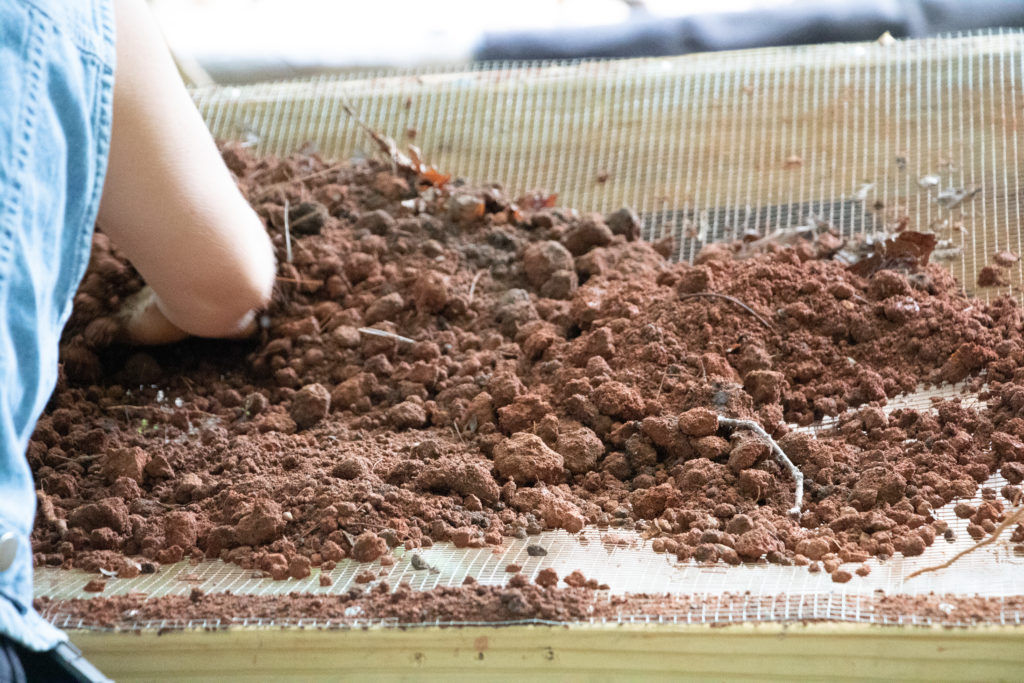
Early Saturday David started on making the cob. The first few steps of cob work was to sift the clay and sand separately to get out any large stones or hard clay chunks from the building materials. This part of the process required a lot of hand and arm work, sifting through tons of materials.
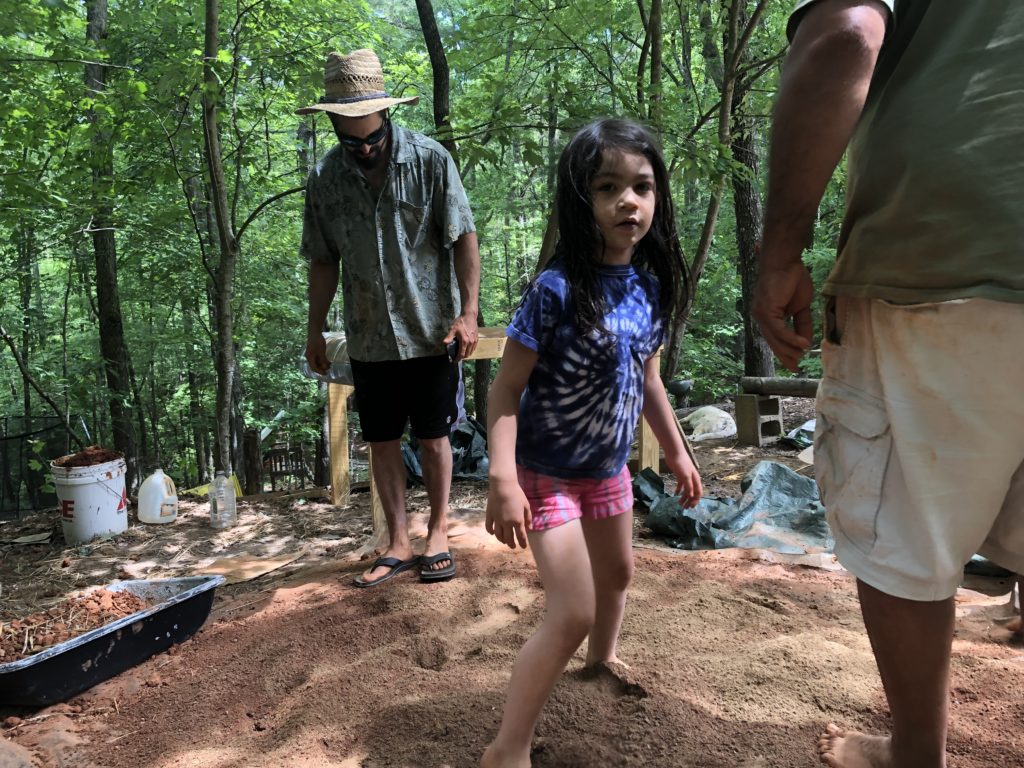
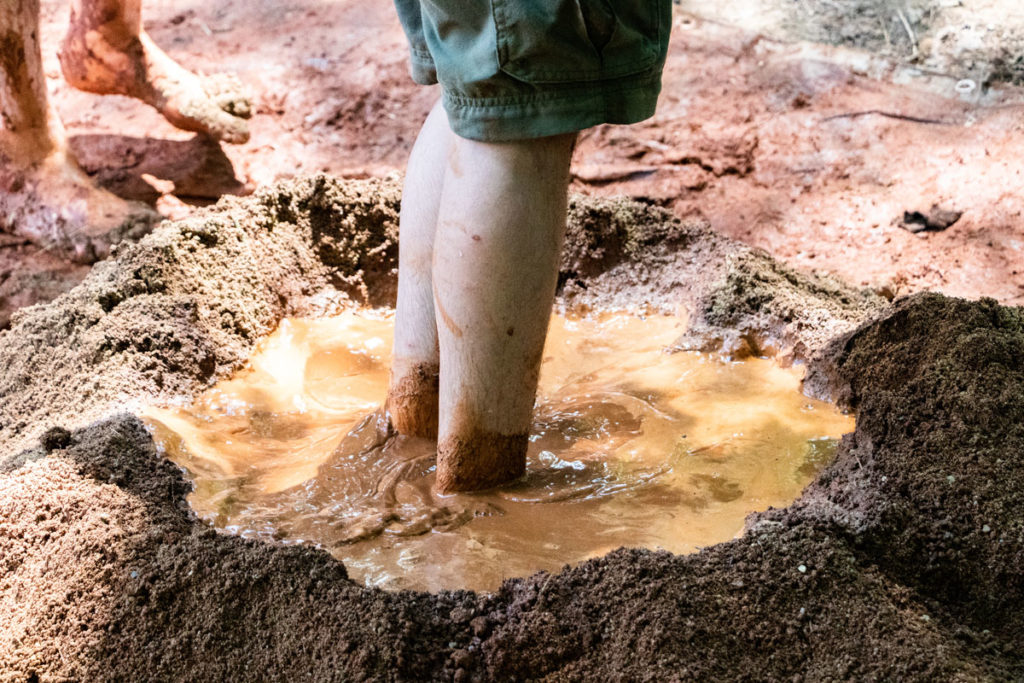
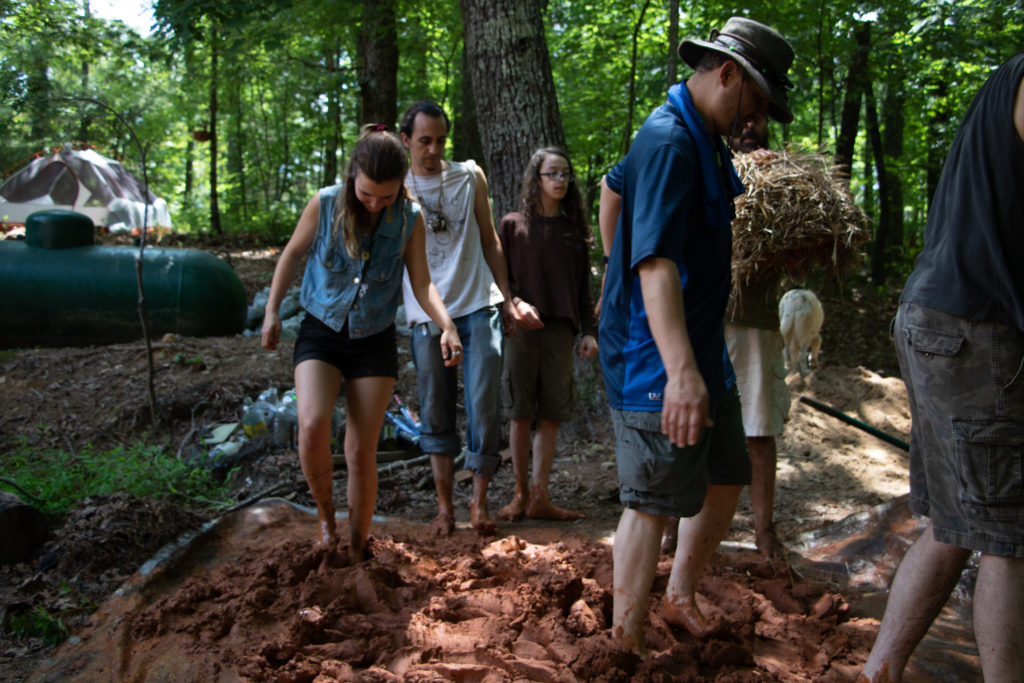
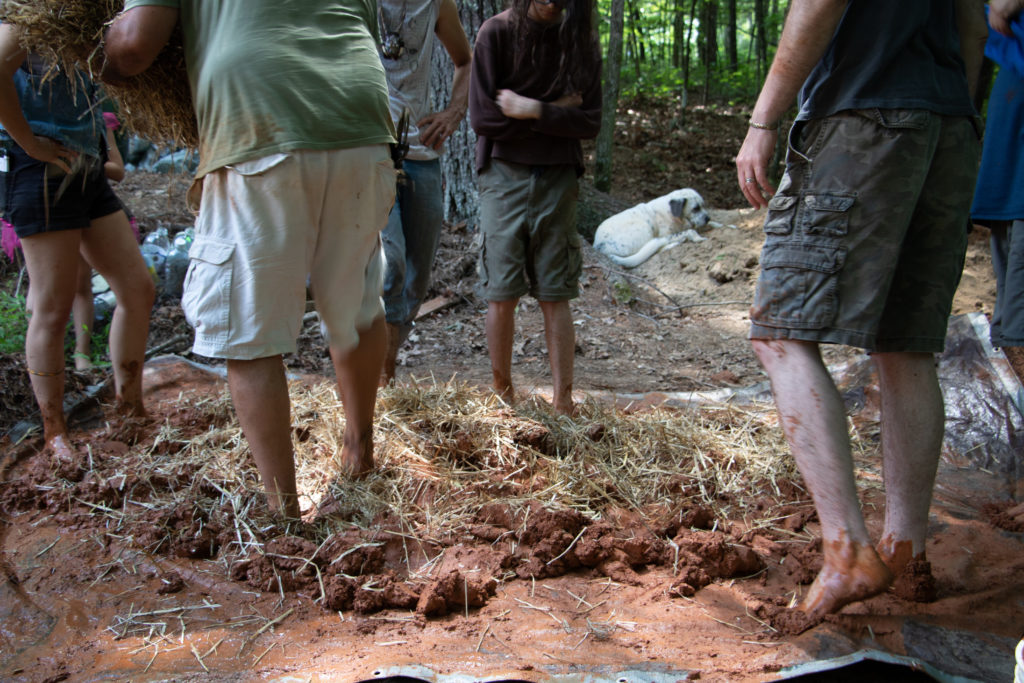
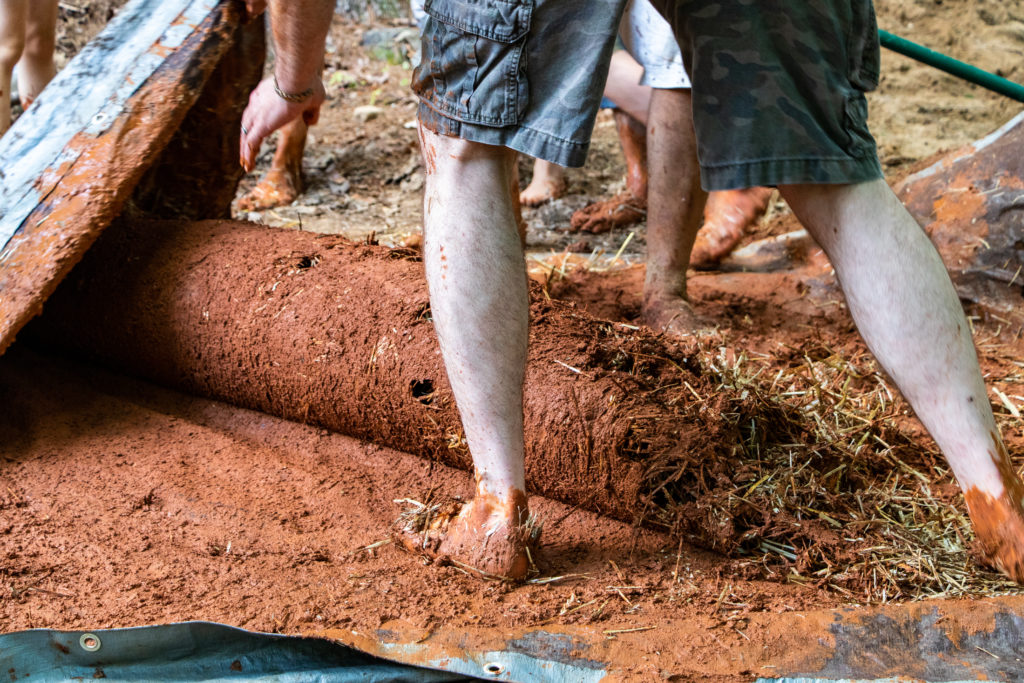
Once enough materials (clay and sand) were sifted we began the mixing process. First we mixed the sand and clay materials together with water, slowly adding water and mixing until we had the correct consistency and mixture. This part of the process require tons of feet and leg work, manually mixing the materials with many pairs of feet and legs. Jumping in there and dancing around, we found out quickly that this was a tiring job, we many people and kids took turns mixing throughout the day.
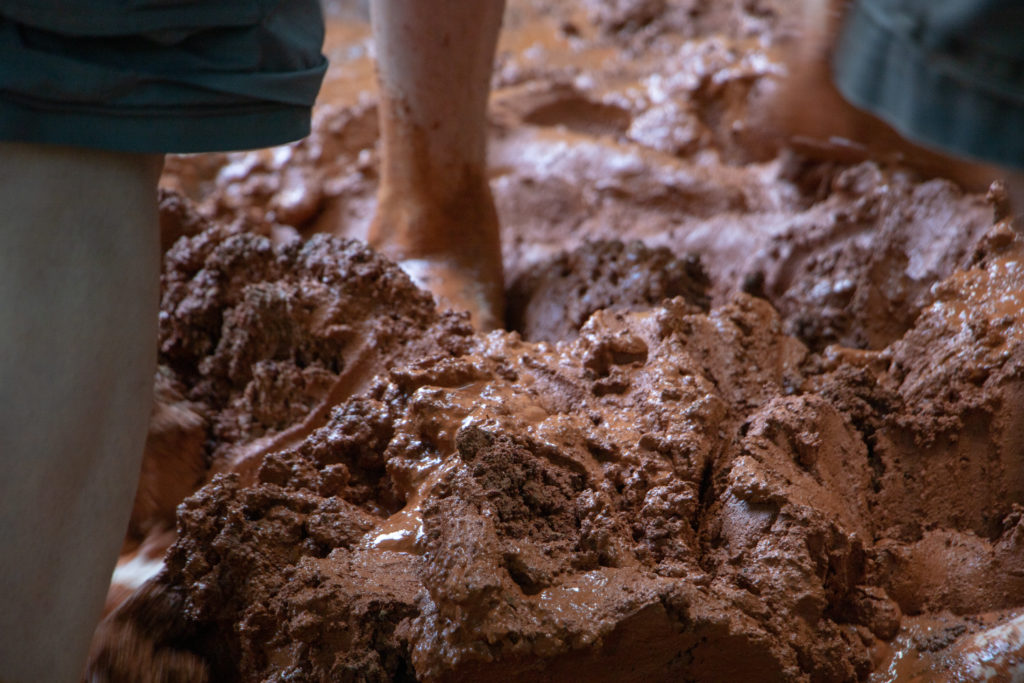
Once the clay, sand and water mixture is the correct consistency we can then add the wheat straw. This final mixture of clay, sand, water, and straw is the “cob” material needed to start work on the oven itself.
Let’s Start Cobbing!
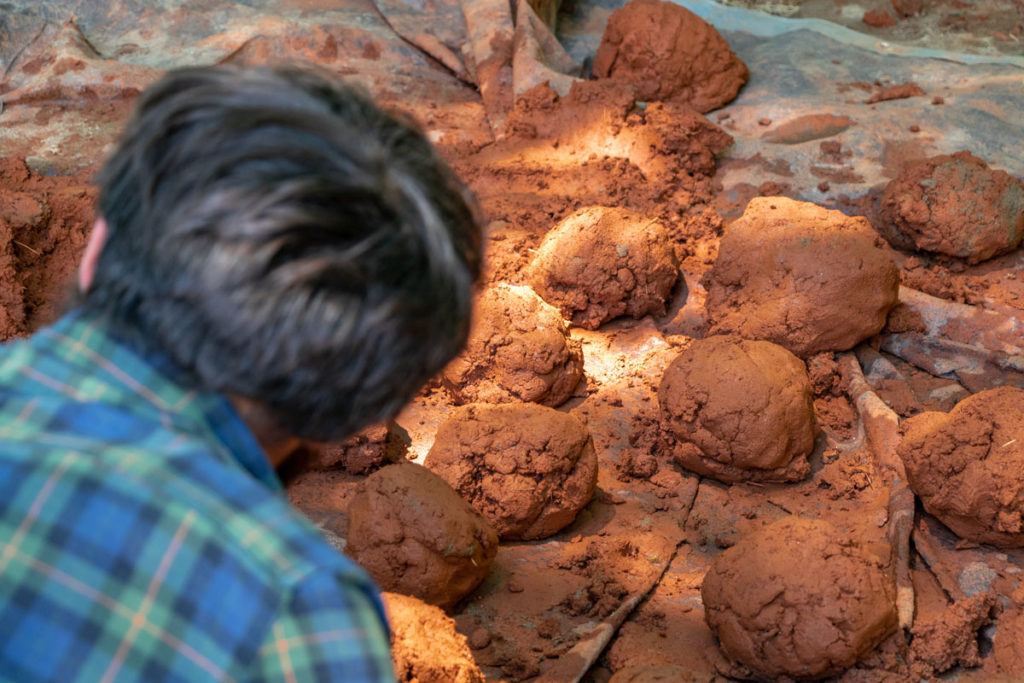
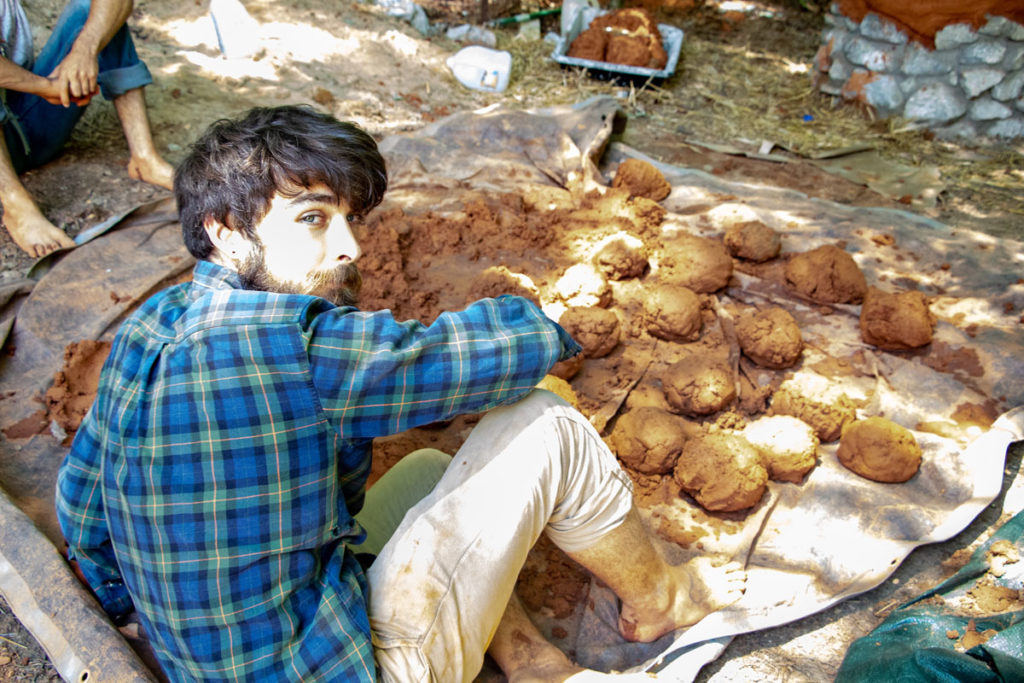
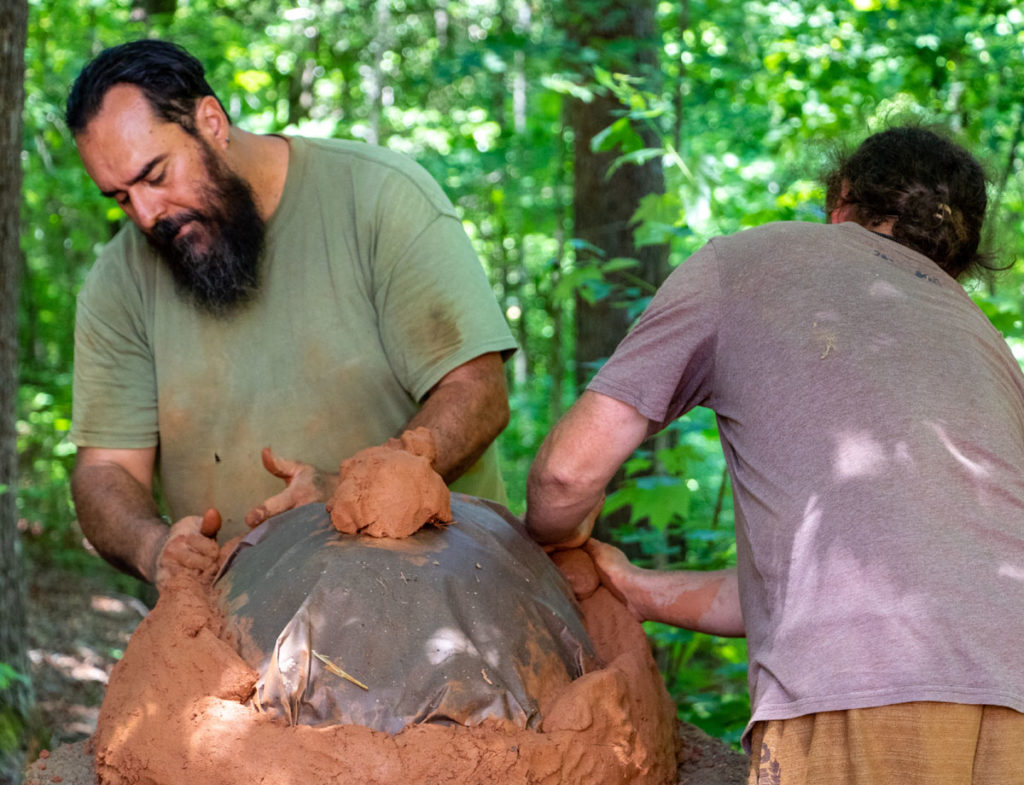
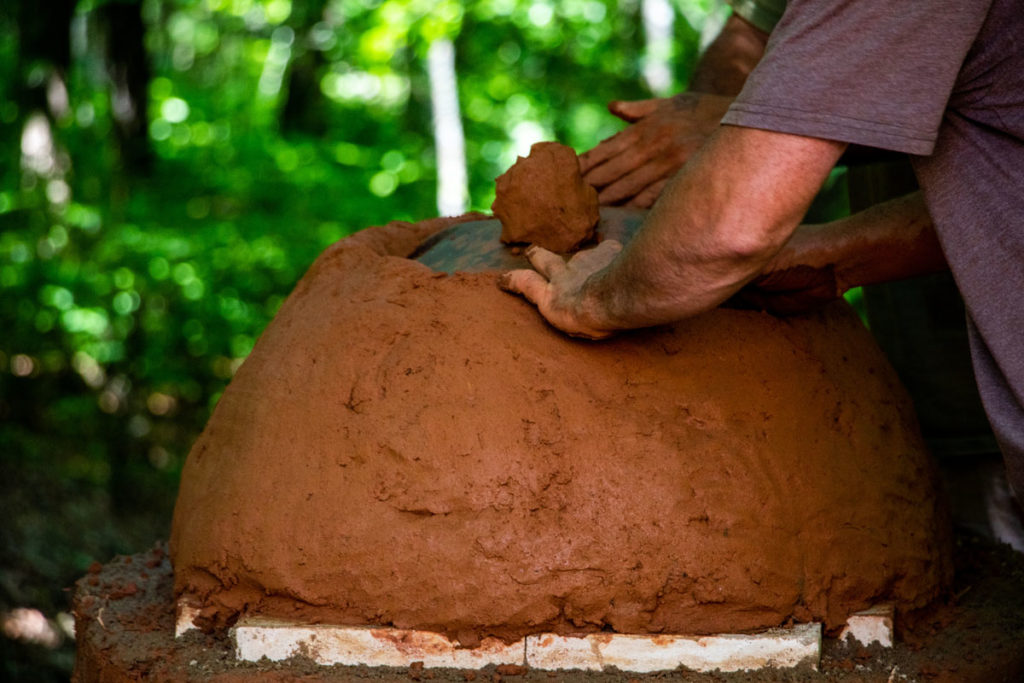
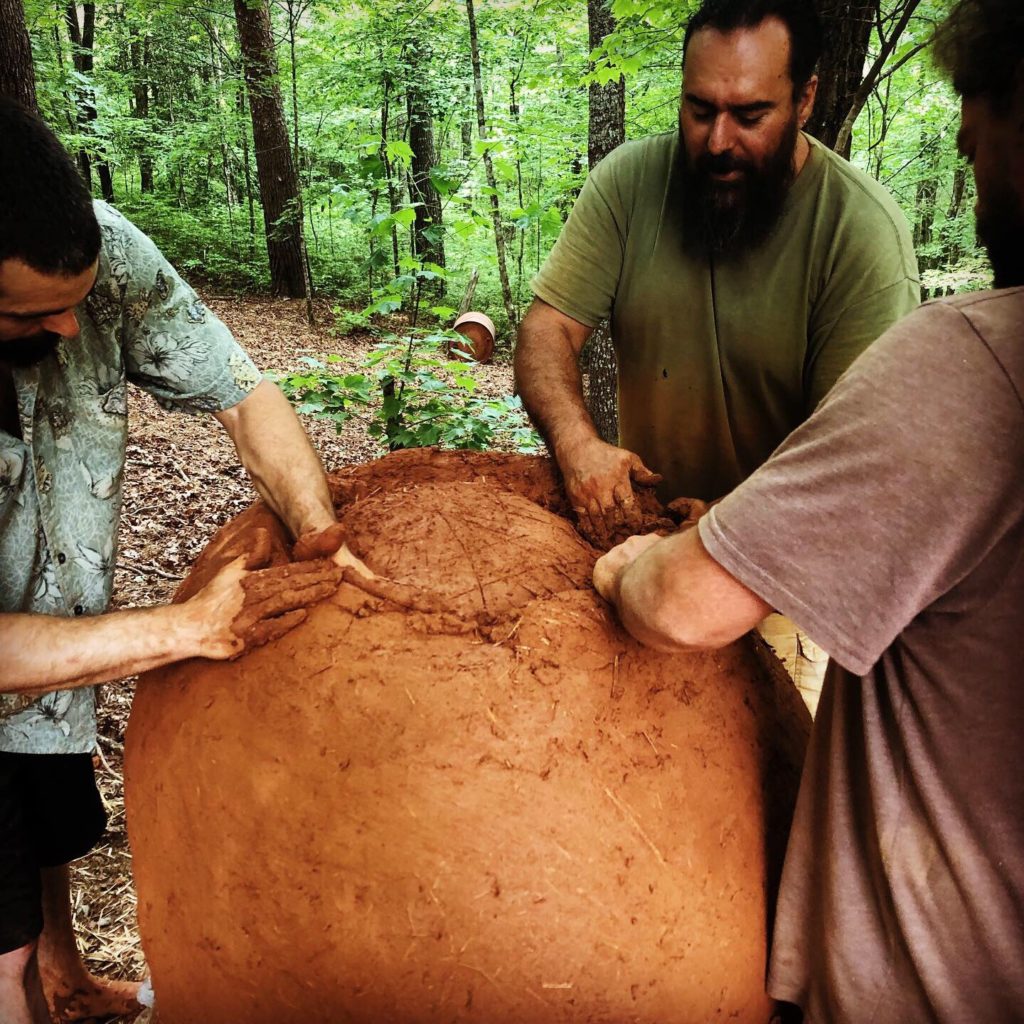
Once we had the cob ready for the building part of the process, we started making round balls of cob. These balls were then used to start the cob part of the build. Adding each cob ball to the stone foundation to start the earthen oven.
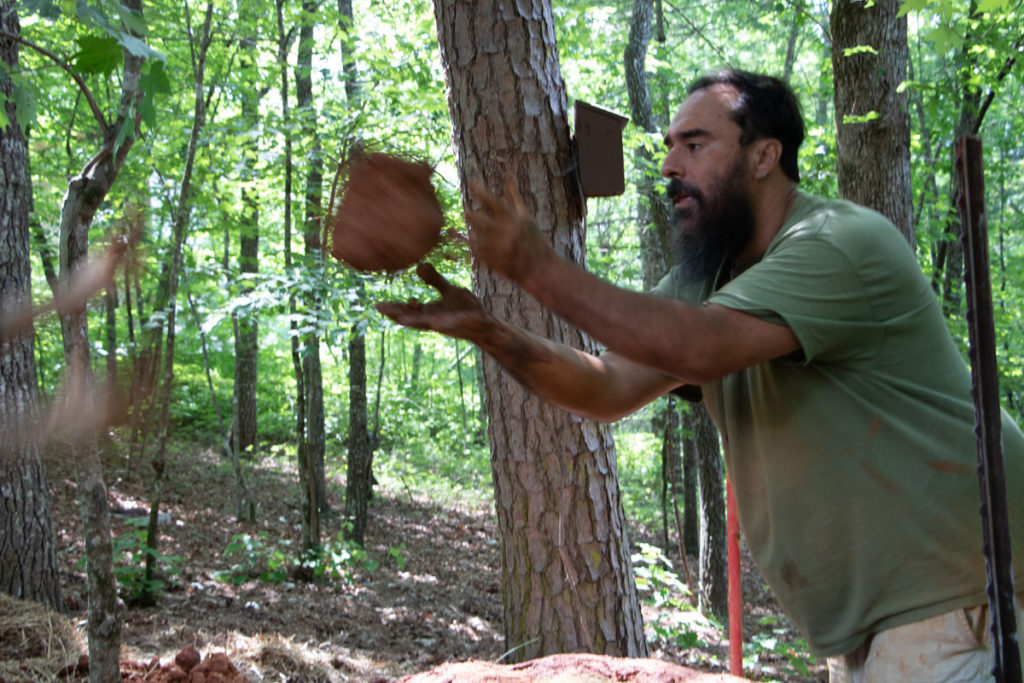
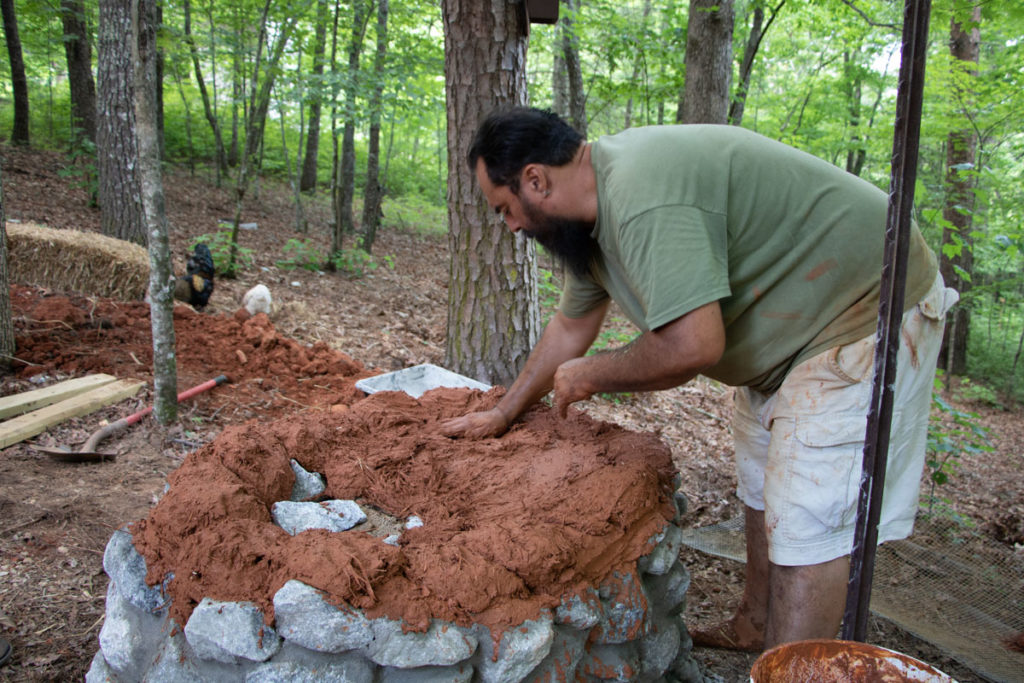
Once the cob base was completed we moved on the making the glass bottle layer and then the cob overlay on top of that. Then the process included adding firebrick for the cooking layer, and on top of that the sand oven mold, so we can add more cob for the oven form.
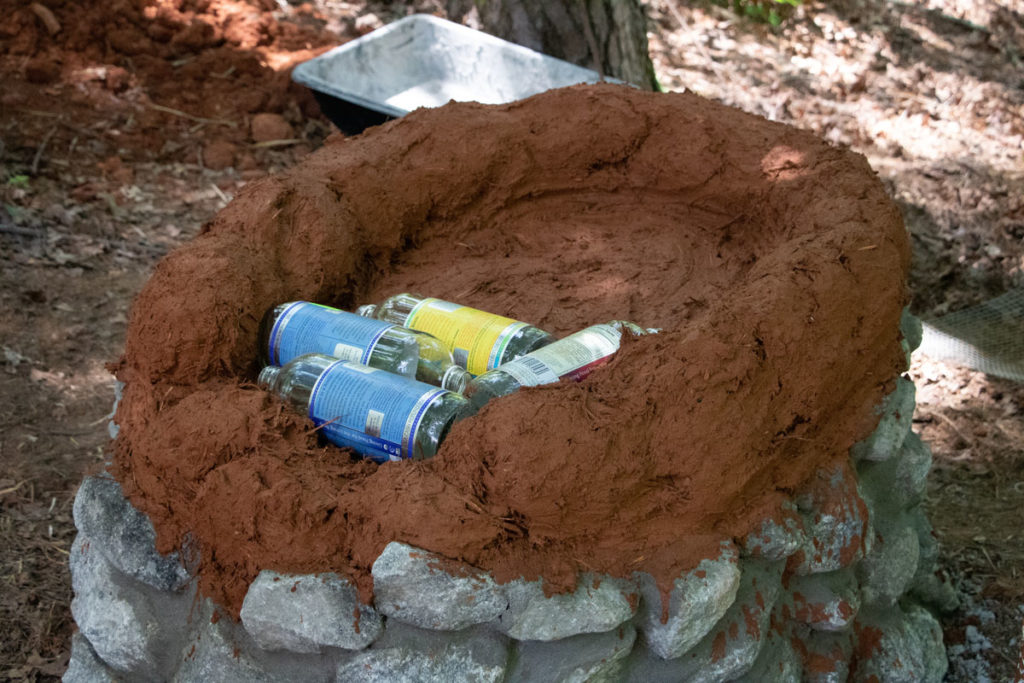
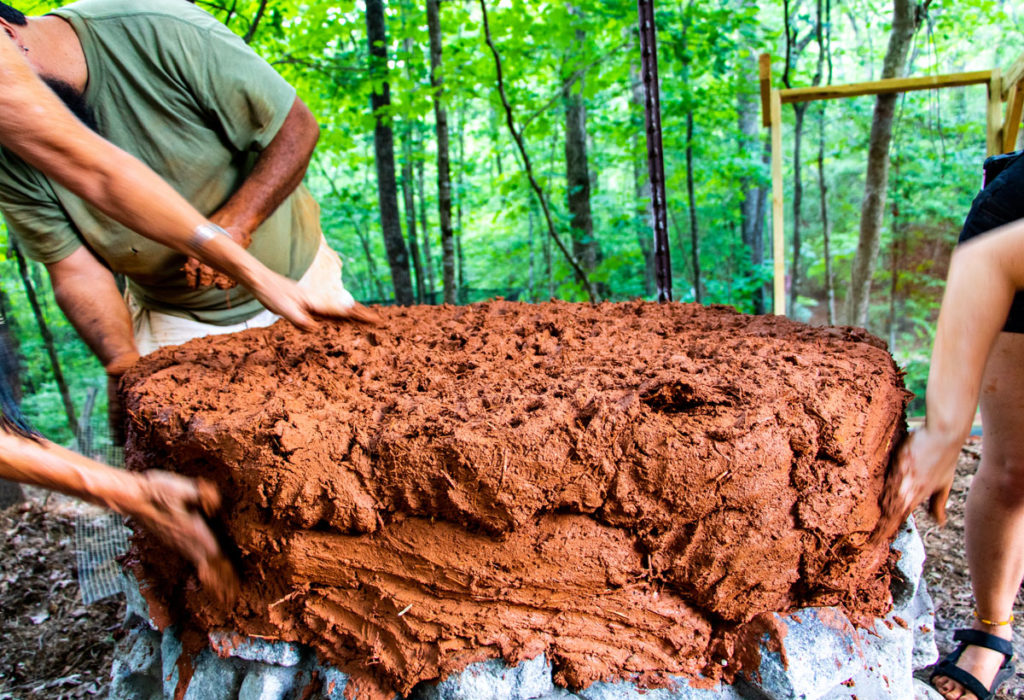
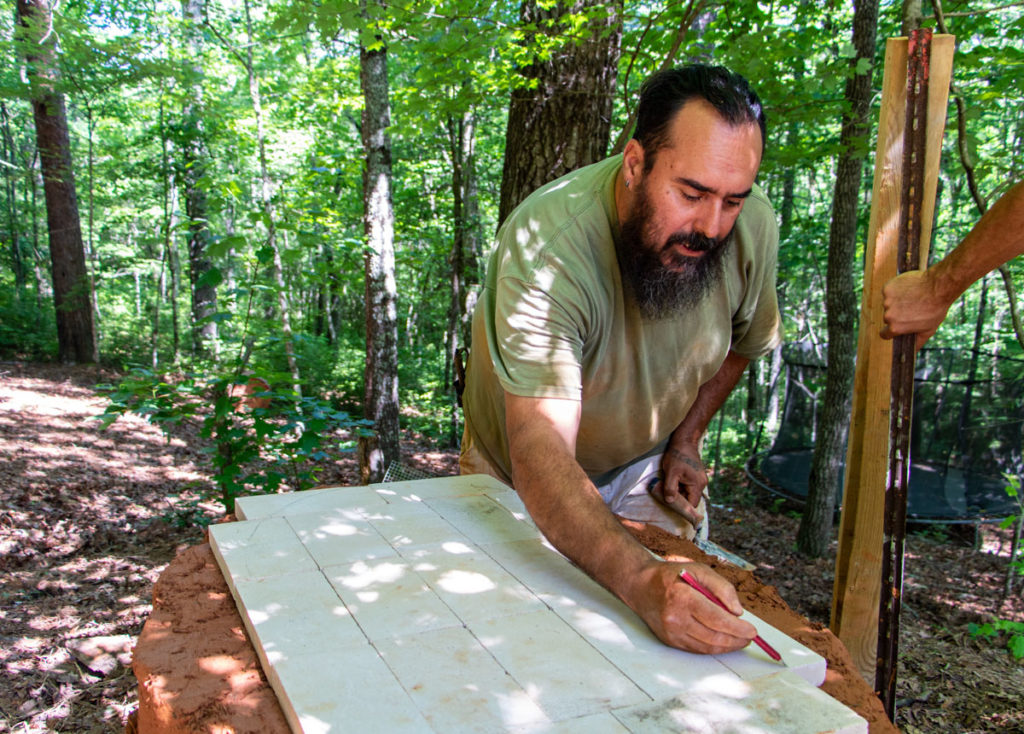

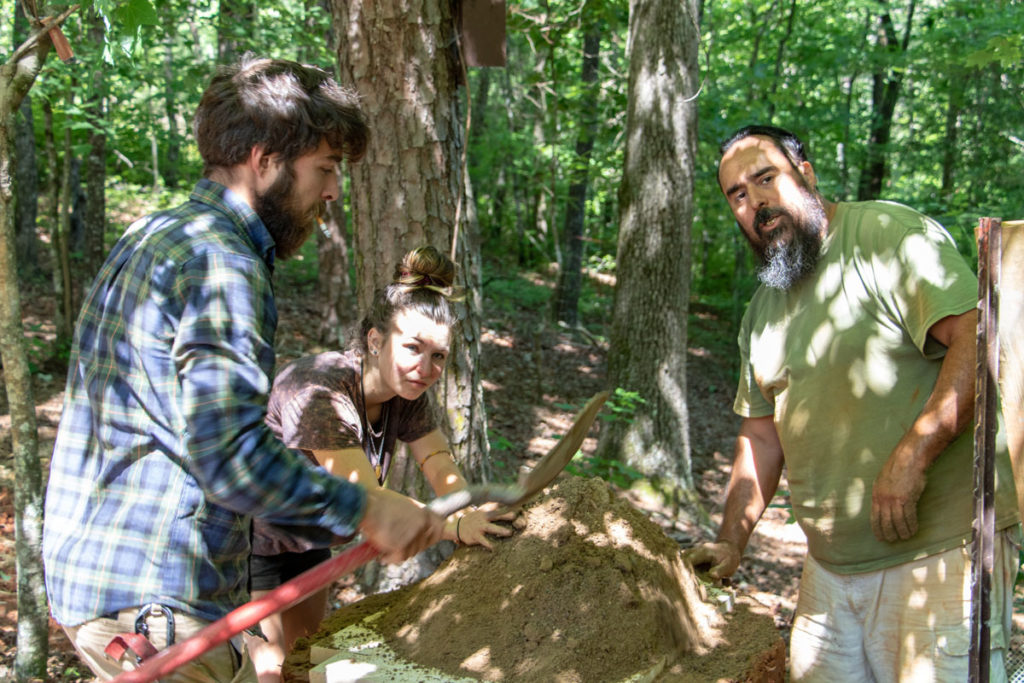
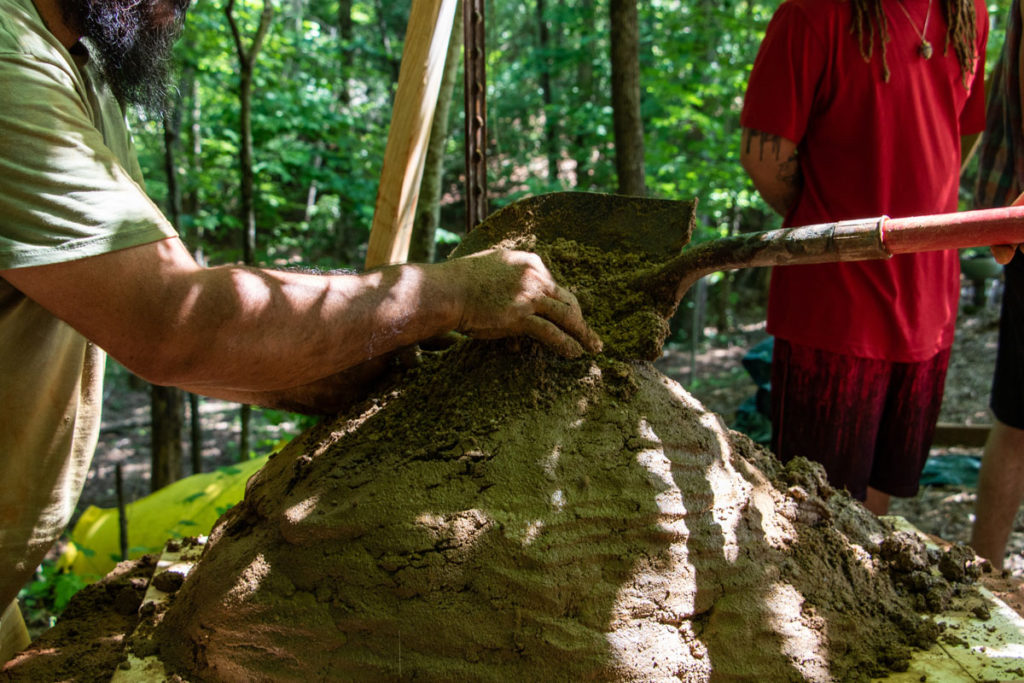
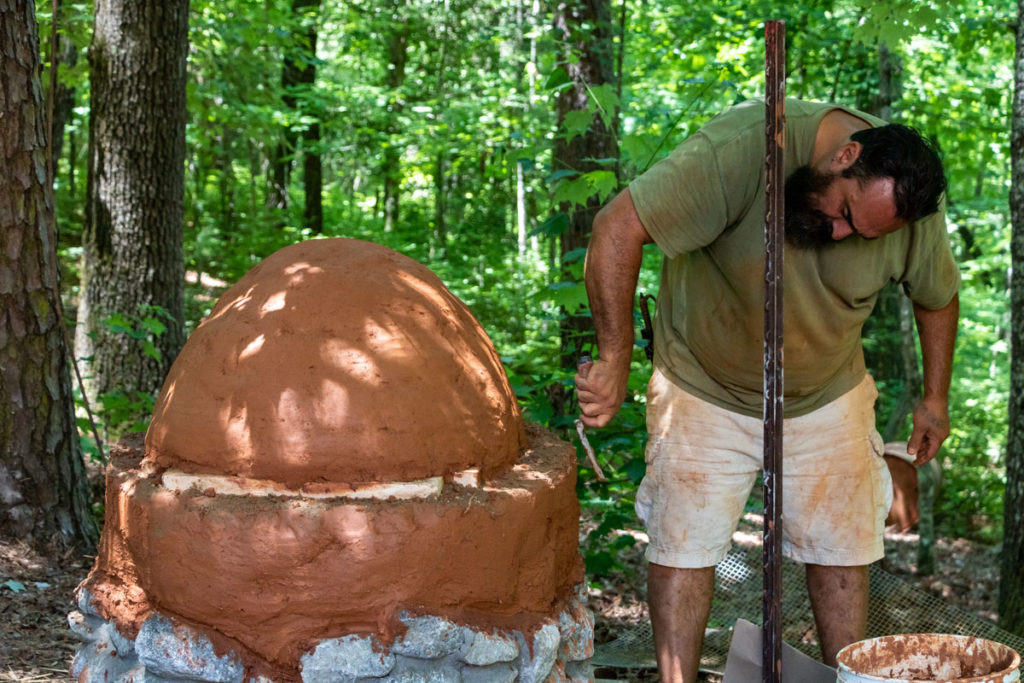
After the sand mold layer, the cob form for the top is added. This required more clay/sand/water/straw mixing, and cob ball building. Throughout this process we were required to continue making more cob on demand, which required more sifting and sometimes more gathering materials; such as the sand from the road gutters.
Finishing Up The Oven Build
Once the oven form was fully completed with cob it was time for the creative part of the build. Before we started David asked me what design I would like for the final oven. It took me some time to come up with an idea, throwing around a few different concepts. Finally I wanted to honor my Taino ancestors and spiritual perspective by building a “Yokahu” replica.
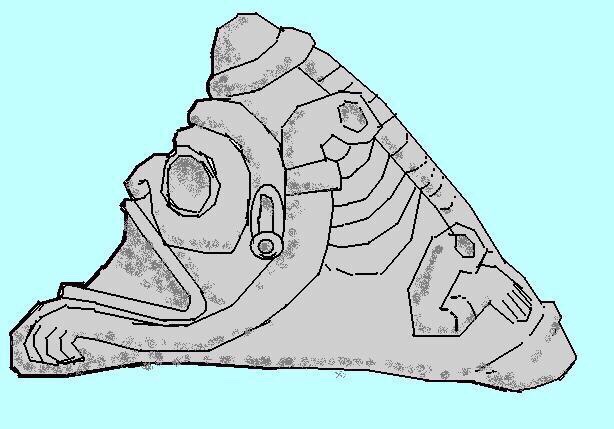
Yokahu is the Taino “god” of the sun’s powerful rays and the energy it gives the life giving plants, and in turn animals, of this beautiful planet Earth we call Atebay. The shape of many of the artifacts that represent Yokahu from the Caribbean are similar to the shape of an oven, so I thought that would be a good direction. David agreed, and loved the idea, so that is the direction we took.
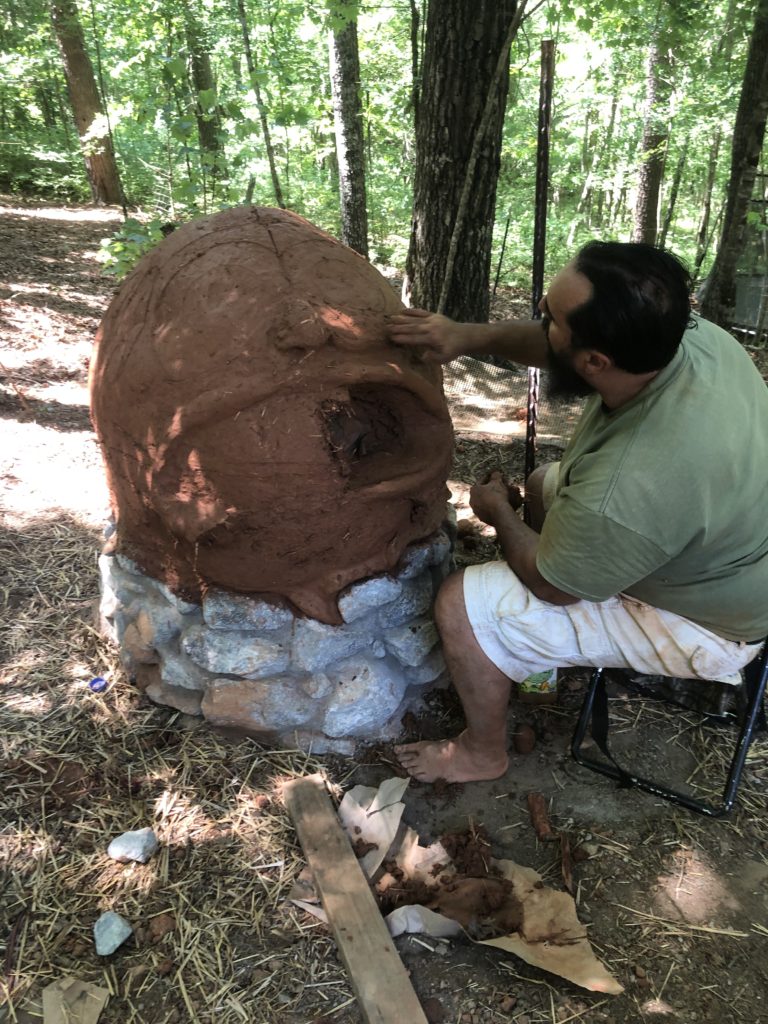
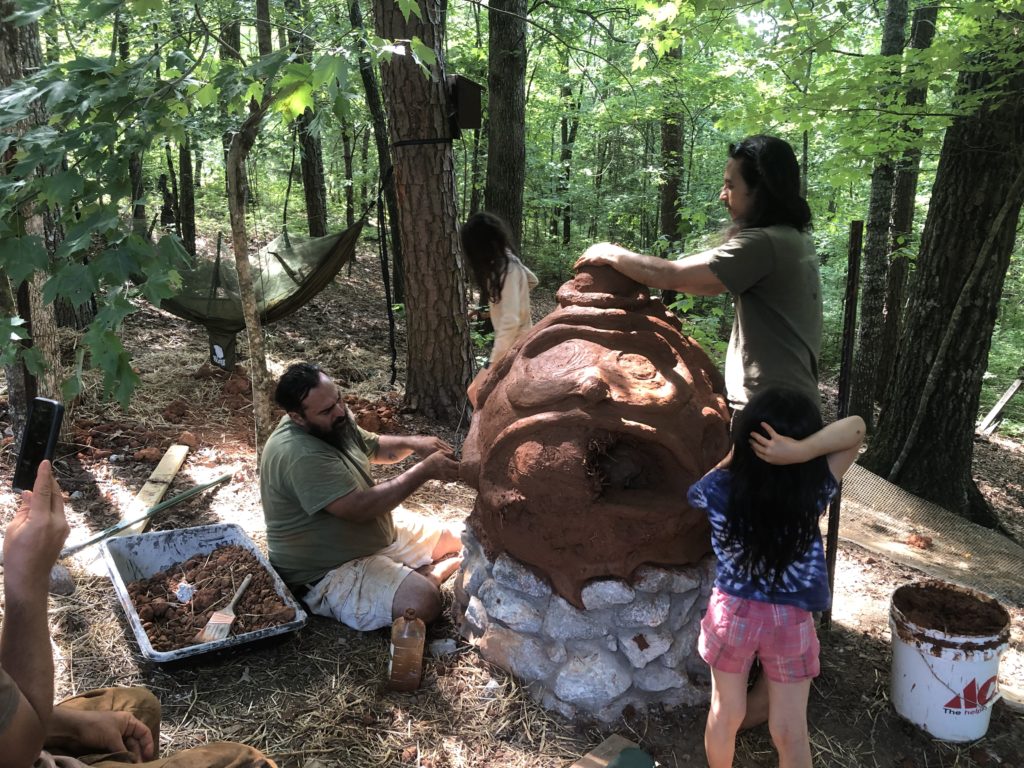
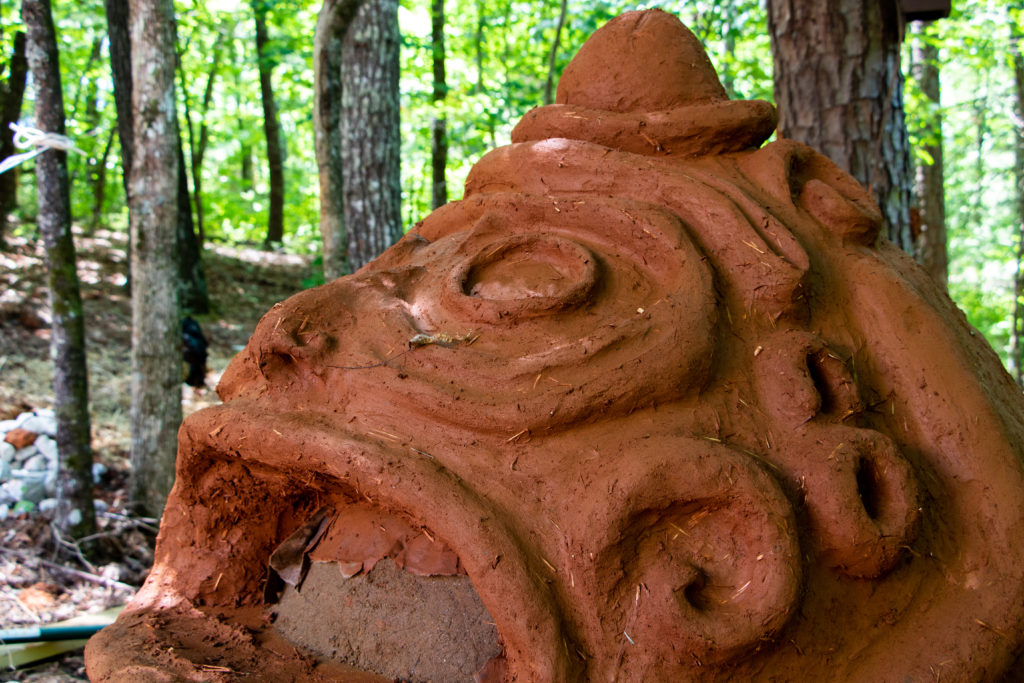
Overall, this was a great project and workshop! David was an awesome facilitator and natural earth builder, and we have received some beautiful reviews of the oven. It took a village to make this happen, and when we needed the help it was there.
This final cob oven may be the largest replica of a Taino Cemi anywhere in North America. This functional piece of art sits overlooking our fire circle and every gathering we hold here at Archaic Roots. We are so proud to have it bless our property with it’s protective gaze and the awesome food that it helps cook.
We recently fired this oven up for the first time during the first weekend of June, and the Pizzas it helped produce fed many hungry souls. What a wonderful project for anyone who comes to our space to enjoy! Thanks for reading and we hope this project inspired you to build something beautiful and functional a property you hold dear to your heart.
I want to thank David Reed for his skills and expertise with natural building techniques, reach out to David if you need help with your next natural build project. Jaron Loggins for the professional photography he produced, many of the pictures in this blog he took for the event. Special thanks to all of the volunteers and immersion weekend attendees/facilitators who helped with the build (we probably had around 20 different helpers during this process).
Want to build your own natural building or cob oven?
Contact David Reed at Colíbrí Natural Builders: permabird@gmail.com



Aumdoc
Why the glass layer in the cobb oven?
Great inspiring article… I want to make one sometime.
William Rodriguez
The glass bottles add a layer of insulation and thermal retention characteristics to the area below the fire brick (cooking layer). Hope you can build one too! You will need about 20 volunteers, it’s a lot of manual labor involved, along with tractor work. Hugs brother!!